söndag 30 april 2023

AAA Cards Challenge 239 - Choose a side

 Hello and Good Morning/afternoon/ evening,

Are you ready for a new CAS card challenge?
I hope you are, as today is the start of a new challenge over at AAA Cards.
This time we would like you to 

Choose a Side

Hot or cold, which side of the colour wheel do you prefer?
I love them both, but for this challenge I could only pick one


As you can see I picked the cold side for this card, purples and greens to be exact. I love both purple and green, and as I've been playing a lot with hot/warm colours lately I felt it was time for a "cool" card.


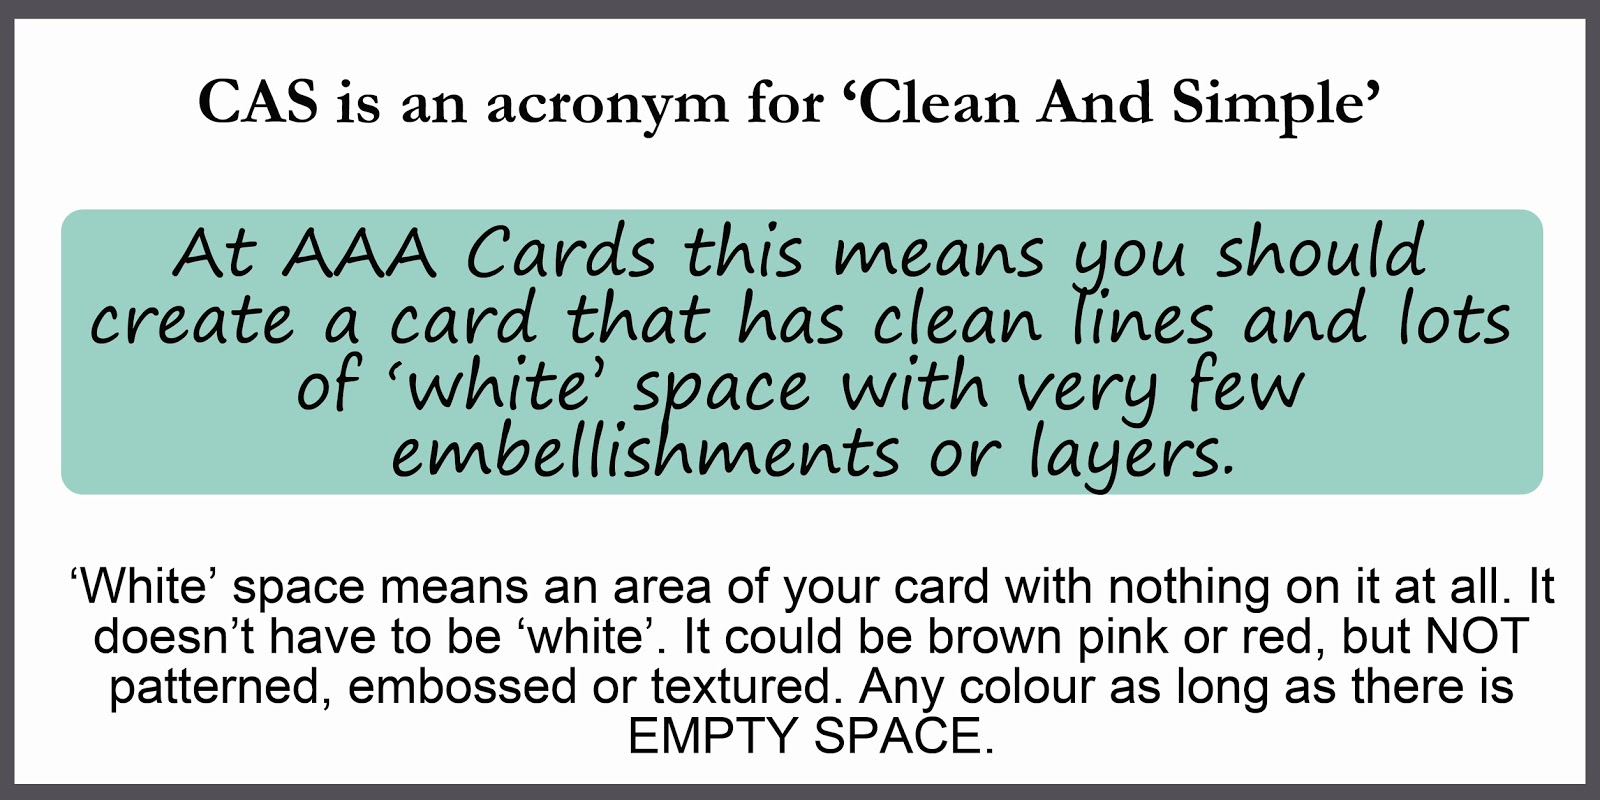
The challenge blog over at AAA Cards is filled with beautiful CAS cards in hot or cold colours, created by the amazing design team and our talented guest designer for this challenge, Hannelie. So why not head on over to AAA Cards challenge blog for some more inspiration for your own hot or cold CAS card?! You have until May 13th to create, upload and link your card to the challenge blog. Hope you'll join us! Remember we want to see CAS cards, for definition please see below


If you want to know what products I've used and how I created my card, please keep reading.


Products used for my card
Stamp sets: "Delicate Floral Print" by Pinkfresh Studio, "Ännu mer Grattis" by hÄnglar & Wings
Stencils: "Delicate Floral Print" by Pinkfresh Studio
Inks: Distress Oxides " Shaded Lilac", "Villainous potion", "Twisted Citron", "Evergreen Bough" by Tim Holtz/ Ranger and VeraFine Clair "Nocturne" by Tsukineko
Die: "Outside In Stitched Rectangle" by Lawn Fawn
Embellishments: Enamel Dots " transparent" by Nellie's choice


I started by die cutting my card panel out of some white cardstock before stamping my flowers and leaves. As the "Delicate Floral Print" stamp is a "background" stamp I had the to cover the flowers the stamp that I didn't want to stamp before inking it up. I removed the "mask" and stamped the flowers and leaves I'd inked in one corner of the panel. I got out the coordinating stencils and inked the flowers and leaves. So quick and easy with stamps and stencils that coordinate! I stamped the sentiment and added some enamel dots to the panel, adhered it to the card base and my card was done.


I hope you've been inspired to play along with the challenge as I would love to see your CAS card in hot or cold colours!

Thank you for taking the time to read all the way here, I really appreciate it!

Take care, keep crafting and have fun!

Jane
x


fredag 28 april 2023

ATC - Visible Image April swap "I spy...."

Hello Crafty Friends,

The ATC swap at Visible Image is so much fun,
and for the April swap we were playing the game " I spy..." 

The theme was

"Something beginning with S"

I knew exactly what I wanted to make, but unfortunatelly the new stamps I had ordered were stuck in customs. So plan B it was. I had a look through my VI stamp sets and stencils, and here's what I came up with


a sparkly seahorse swimming in the sea with shiny "starfish" and shiny splatters with a few sun rays shining through the surface.

I had a hard time finding a sentiment or even a word to fit the challenge amongst my VI stamp sets, so in the end I "created" my own word. I found the word "see" on a sentiment stamp and masked it of so I only had the "se" and stamped that. Then I found an "a" in another word from a different set and stamped that to spell the word "sea". I wanted to write "Sea Beauty" but I couldn't find a "y" that fit anywhere, so I went with "beautiful sea" instead. I also created a card to send to my swap partner together with the ATC.


The sentiment on the card is also a compromise and one I had to "create" myself by mixing and matching different stamp sets. I did a little word play and used the word "sea" instead of "see" on my card to connect the two cards and to follow the "sea" theme.


Visible Image products used
Stamp sets:
"VI MINIs #1" - seahorse
"Born to Perform" - stars (starfish)
"Ride in the Wind" - splatters
"Believe in Unicorns" - splatters
"Affirmations" - for the "a" in the word "sea"
"Brighten the World" - for the "se" in the word "sea", and for most of the sentiment on the card
"Beautiful soul" - the word "beautiful"
Stencil:
"Strobes" - sun rays

Other products used
Distress Oxides
for the background
Perfect Pearl for the starfish and splatters, and for the seahorse on the card
Sticky embossing powder and glitter for the seahorse on the ATC
VersaMark embossing ink for the seahorse and the sentiment on the ATC
White embossing powder for the sentiment on the ATC
VersaFine Clair ink for the sentiment on the card


I must say, I thoroughly enjoy these swaps! It's so much fun creating these small cards, sending them to new friends around the world, and then receiving beautiful cards from all over the globe. It's a win win! 

If you a curious about the swap, and mayby even want to have a go, visit Visible Image on Facebook. You only sign up for one swap at a time, so no commitment for more than that month if you don't like it. 
I can highly recomment it! The sign up for the following month usually runs between the 23rd - 28th of every month, you then have until the 23rd of the following month to create and send your ATC to your swap partner. You only have to create an ATC! I create a "matching" card just because I like to create cards, you don't have to.


Thank you so much for taking the time to stop by, I truly appreciate it!

Take care, keep crafting and have fun!

Jane
x


torsdag 20 april 2023

Ooommm!

Hello Crafty Friends,

Today I'm sharing my last entry for the spring cybercrop at Pyssloteket.
This one is for challenge 1 - Babsans solnedgång/ Babsan's sunset.


Poor Dee, sitting in the sunset, has been trying to find her inner peace since sunrise.
I hope she finds it soon 😉 Ommm!


Thank you for taking the time to stop by, I really appreciate it!

Take care, keep crafting and have fun!

Jane
x

söndag 16 april 2023

AAA Cards Challenge 238 - Ripped/Torn Edges

 Hello Crafty Friends,
It's time for a new CAS card challenge at AAA Cards,
and the theme for this fortnight is

Ripped/Torn Edges

We want you to create (fake) ripped/torn edge(s)
somewhere on your card using masking technique. 


I decided to go with a colourful square with ripped edges,
and here's how my card turned out.


For my card I ripped the edges of some post-it notes and taped them to my card with the torn sides facing inwards to create a square with ripped edges. I then ink blended the square using distress inks, and splattered some white acrylic paint before removing the post-it notes. To finish the card I stamped a flower and a sentiment. 


For more information and inspiration by the design team and our special guest designer for this challenge, Sandie Munro, please visit AAA Cards challenge blog.

I hope you'll join us!

Thank you for taking the time to stop by, I really appreciate it!

Take care, keep crafting and have fun!

Jane
x


lördag 15 april 2023

Art journal page in complementary colours

 Hi,
Today I've been playing with complementary colours in my art journal
inspired by the spring cybercrop at Pyssloteket and
Utmaning 3 - Tettiz komplimentfärger


Here I've played with Distress ink, Dylusions ink spray, Distress paint, modeling paste, a stencil, pigment ink, embossing powder and stamps.

I started by ink blending my background in blue, I then stamped and heat embossed the bird on my page. I also stamped and heat embossed a second bird which I fussy cut before spraying it with dylusions ink spray in orange. While the bird was drying I grabbed a stencil and some modeling paste and added that to my page. I adhered the orange bird on top of the stamped bird on my page, added some splatters in dark blue distress paint and my stamped and heat embossed sentiment.

Products used
Stamp set: "
Life is Beautiful" by Visible Image
Distress ink: "Broken China" by Tim Holtz/ Ranger
Distress paint: "Uncharted mariner" by Tim Holtz/ Ranger
Dylusions ink spray: "squeezed orange" by Dyan Reaveley/ Ranger
Modeling Paste: by Panduro
Stencil: "Create Happiness KSTDL64" by Vicky Papaionnou/ Stamperia
Pigment ink: VersaFine Clair "Nocturne" by Tsukineko
Embossing Powder: "Clear Gloss regular" by WOW!


I'm still very new at art journaling, and I must admit I'm struggling a bit. I think I'm overthinking the process, but I'm slowly learning to let go and to go with the flow. So challenges like this one is perfect for me as they get me out of my comfort zone, and I am fully enjoying playing and learning about different mediums.


Thank you for taking the time to stop by, I truly appreciate it!

Take care, keep crafting and have fun!

Jane
x


fredag 14 april 2023

CAS card in pink

 Hello,

Today I'm sharing a card I created for the cybercrop at Pyssloteket,
inspired by Åsa's challenge

Utmaning 5 - En enkel CAS


Did you know that the name "Åsa" rhymes with the word for "pink" in Swedish? Åsa - rosa (pink).  Pink is also Åsa's favourite colour, and she is a master when it comes to CAS cards, so what better than a CAS card challenge in pink hosted by Åsa?.


For this card I have stenciled some flowers on a card panel, in pink of cause, die cut a greeting out of some dark pink cardstock, adhered it all to a dark pink card base and added a few clear enamel dots. Card all done.


Thank you for stopping by, I really appreciate you taking the time!

Take care, keep crafting and have fun!

Jane
x

lördag 8 april 2023

Happy Easter

 Happy Easter Everyone,

I hope you're all having a lovely Easter weekend!
Here in the south of Sweden we are enjoying beautiful spring weather, sunny and warm during the day but still cold at night.

Today I'm sharing a card I made last week but forgot to show, but that's okey as today is a perfect day to share it as it's an Easter card.


I've had this beautiful set "Be Bold Blooms Etched Dies" by Spellbinders since before Christmas but haven't used it, until last week that is. I don't know why it's taken me so long to play with it, it's so beautiful and versatile. 
I die cut the flowers and leaves out of white cardstock, and coloured the pieces using Distress inks. I assembled the individual flowers, and started playing around with the flowers and leaves until I was happy with the composition. I die cut the beautiful background "Quilted Backdrop" by Lawn Fawn and adhered it to a yellow piece of cardstock before attaching it to the card base. Then I adherded the flowers and my heat embossed and fussy cut greeting to the background.


Thank you for stopping by, I really appreciate you taking the time!

Take care, keep crafting, have fun and have a

HAPPY EASTER!

Jane
X

onsdag 5 april 2023

Utmaning 2 - Karins Recept

 Hello,

Today I'm playing along with the Spring Cybercrop hosted by Pyssloteket.


Challenge 2 - Karin's Recipe

Create a project of your choice, and include/use the following;
*Craft cardstock for your base.
*Paint/Colour/Paste directly on the craft base.
*Something die cut.
*Stencil
*Embossing Technique (heat and/or dry embossing)
*String/Thread
*Splatters
*The colour Green


Here's my take on the challenge


Following the recipe I used the following materials;

Craft cardstock - for the card base 
Paste - Lunar Paste in "Clear Sky", "Bee Sting", "Fake Plant" and "Slippery when Wet"by Simon Hurley/ Ranger
Something Die cut - Paintbrush with flowers by Spellbinders
Stencil - "Paint Splatter Background" by Lawn Fawn
Embossing Technique - Heat Embossing with "Opaque Bright White Super Fine" embossing powder by WOW!
String/Thread - White thread from my sewing box
Splatters - White acrylic paint by Dina Wakley/ Ranger
The colour Green - Lunar Paste and Leaves


Thank you for stopping by, I really appreciate you taking the time!

Take care, keep crafting and have fun!

Jane
x


söndag 2 april 2023

AAA Card Challenge 237 - Shaped card + optional twist Easter

 Hello,

It's challenge time (again 😁),
today it's a new CAS card challenge over at AAA Cards
and the theme for this coming fortnight is


Shaped Card with the optional twist of Easter


Here's my take on the theme


As you can see I've opted to go with the twist, but you don't have to. Your card can be for any occasion, it doesn't have to be an Easter card as long as it's CAS and any shape but rectangular or square we're happy.


For more information and fun inspiration by the amazing design team please visit AAA Cards challenge blog

I hope you'll join us! You have until the 15th of April to create, upload and link you creations to the challenge blog. Please remember all cards entered have to be CAS!


AAA Cards definition of CAS


If you want to know how I created my card and what products I've used please contingue reading.

I started by die cutting my card base out of a piece of folded white cardstock. I placed the die just of the egde of the fold to create a sidefolded card. I then cut another egg out of a singel piece of cardstock, to use as the front to cover up the fold/ missing piece of the egg. I stamped and masked a hen and some Easter eggs on the card/ egg panel, and coloured my images using Copic markers. I stamped and heat embossed a sentiment, cut it out using a banner die and adhered it to the card/ egg panel. I adhered the panel to my egg shaped card base and the card was done.

Products used
Die sets: "Outside In Easter Egg Stackables" and "Everyday Sentiment Banners" both by lawn Fawn
Stamp sets: "Hönsgården" by hÄnglar & Wings
Markers: Copic


I hope you've been inspired to play along with this fun challenge!
Can't wait to see what shape you choose.

Thank you for stopping by, I really appreciate you taking the time!

Take care, keep crafting and have fun!

Jane
x


lördag 1 april 2023

AAA Birthday Game #48 - Layer It Up

 Hello Crafty Friends,

It's the 1st of April, and time for a new challenge over at AAA Birthday.
The theme for the month is -

Layer It Up!

 We want to see birthday cards with layers.
It can be layers of paper or if you make CAS cards an image with layers.
As long as it's a birthday card and you have layers in someway on it we're happy.


Here's my take on the challenge


I was inspired by the cake on the challenge card, please see below, and decided to build a layered cake on my card. Besides the cake having two tiers, it also consists of a few layers of paper, so does the cake stand and the flower on it.


I hope you're inspired to play along with us this month, as we would love to see your take on this fun Birthday card challenge. You have until April 30th to create, upload and link your cards to AAA Birthdays challenge blog. For more information and beautiful inspiration by my talented design team colleagues, and our two special guest designers for the month, Denise and Shruti, please visit the challenge blog, and don't forget to show them some love.


If you'd like to know how I created my card and what products I used please continue reading!

Here's how I made the card;
I die cut all the pieces I needed for the cake and the cake stand, coloured the cake stand using Copic markers and assembled the cake on the cake stand. I thought the cake looked a little bare so I decided to add a flower to it. After die cutting, colouring and assembling the flower I first placed it on top of the cake as on a traditional "Prinsesstårta" (a Swedish classic "Princess cake" filled with jam, custard cream and whipped cream, and covered in green marzipan with a pink marzipan rose on top), but didn't like how it looked so I placed it on the cake stand instead. The cake die set didn't come with any candles, but I felt my cake needed something on top. I grabbed my "Lucia" die set and die cut a "Lucia crown", trimmed it a bit and coloured the candles and glued it to the back of the cake, Voilà I had cake candles.
For the background  I die cut a rectangle, ink blended on it and splattered some gold splatters. I addhered the cake to the background and added a die cut scalloped rectangled frame. I glued the piece to a card base and added a die cut, stamped and heat embossed sentiment,

Products used
Papers:
Neenah Solar White, "Cilantro cardstock" by Lawn Fawn, Watercolour paper
Dies: "Stitched Scalloped Rectangle Frames" and "Everyday Sentiment Banners" by Lawn Fawn, "Tårta D171003" and "Lucia tillbehör D221030" by Gummiapan, "Brushstroke Flowers, Mini" by Tim Holtz/ Sizzix
Stamps: "Reveal Wheel Circle Sentiments" by Lawn Fawn
Ink: Distress Oxide by Tim Holtz/ Ranger
Paint: Distress Watercolor Pencils by Tim Holtz/ Ranger
Markers: Copic
Splatters: "Color Shine in Gold" by Heidi Swapp/ American Crafts
Embossing powder: WOW! Opaque Bright White Super Fine


Thank you so much for taking the time to stop by, I really appreciate it!

Take care, keep crafting and have fun!

Jane
x